


Vendor settings
Vendors can manage their branches and locations from their dashboard by navigating to the Settings tab and selecting the Locations sub-tab. Allowed branch operations are listed below-
1.Add a new branch
To add a new branch, simply click the ‘New Branch’ button, which will open the branch registration form.
If no branch name is provided, the default name ‘[BRANCH NAME]’ is displayed in the branch list.
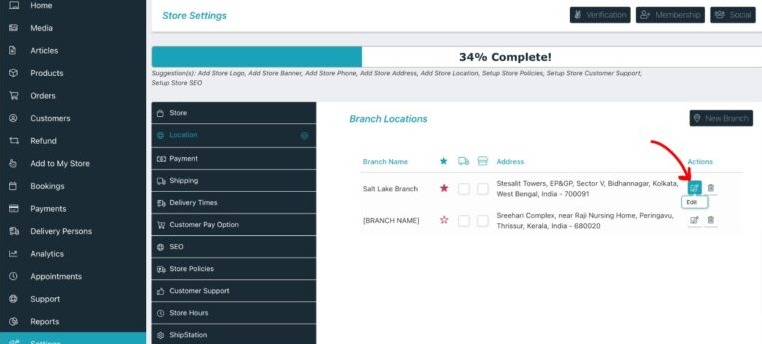
2.Edit an existing branch
To edit an existing branch, click on the ‘Edit’ button from the branch list.
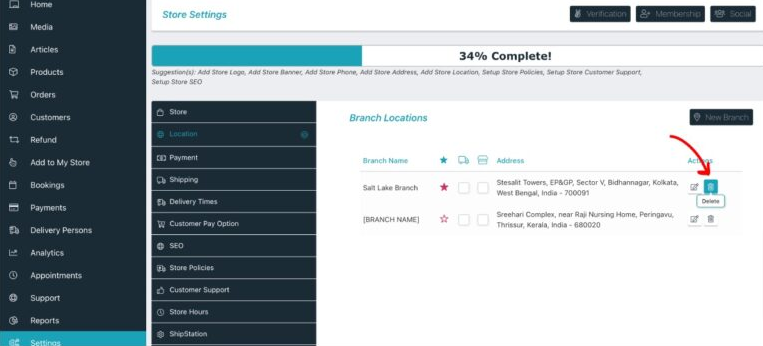
3.Delete a branch
To delete an existing branch, click on the ‘Delete’ button from the branch list.
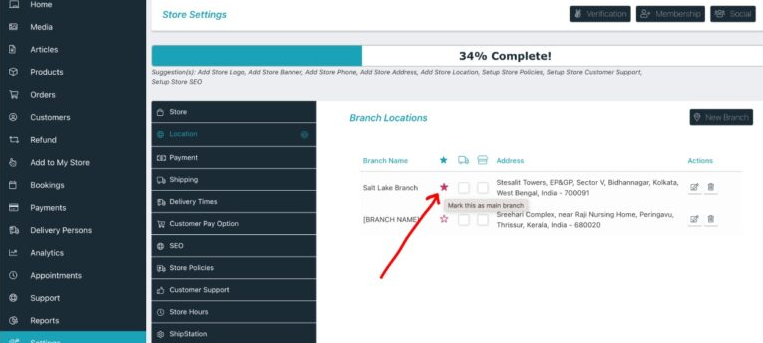
4.Mark as main branch
The main branch is a unique branch that can be selected from among all other branches of a store. Once designated as the main branch, its address will be displayed on the vendor store page and used as the store address on invoices, the order details page, and other relevant pages.
To mark a branch as the main branch, click on the ‘Mark this as main branch’ (star icon) link. When a vendor adds the first branch, it is automatically assigned as the main branch for that store. If a main branch is deleted, the first store branch will automatically be marked as the new main branch.
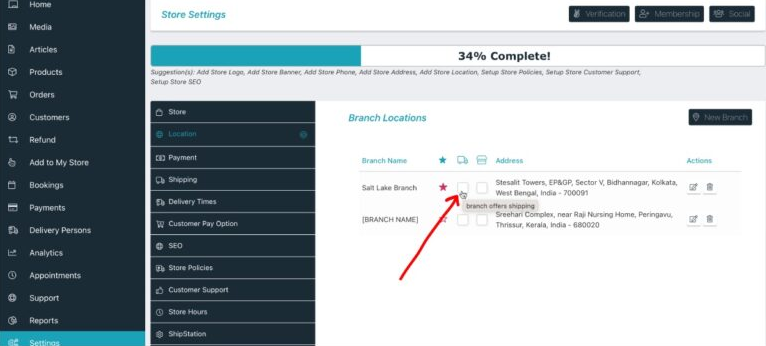
5.Branch offers shipping
Checking this option denotes that the store can ship items from that branch to the customer’s location. This is particularly useful for the ‘Shipping by distance’ method, as the shipping rate will then be calculated based on the customer’s nearest branch that offers shipping.
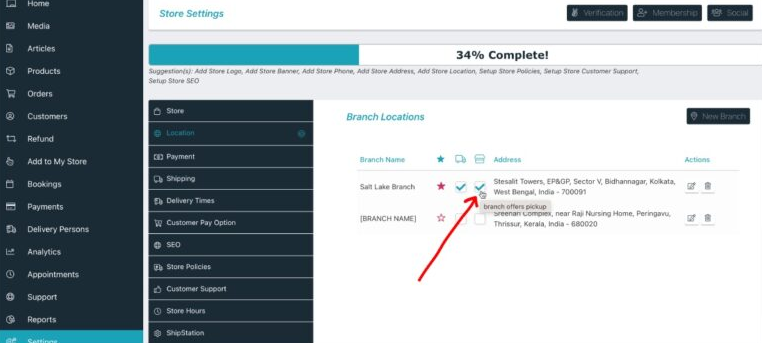
6.Branch offers pickup
When checked for a branch, customers can pick up their purchased items from that branch. This enables the customer to locate the nearest local pickup available from that store. The pickup address will be shown to both the customer and the vendor on the order details page, as well as in the order confirmation emails.